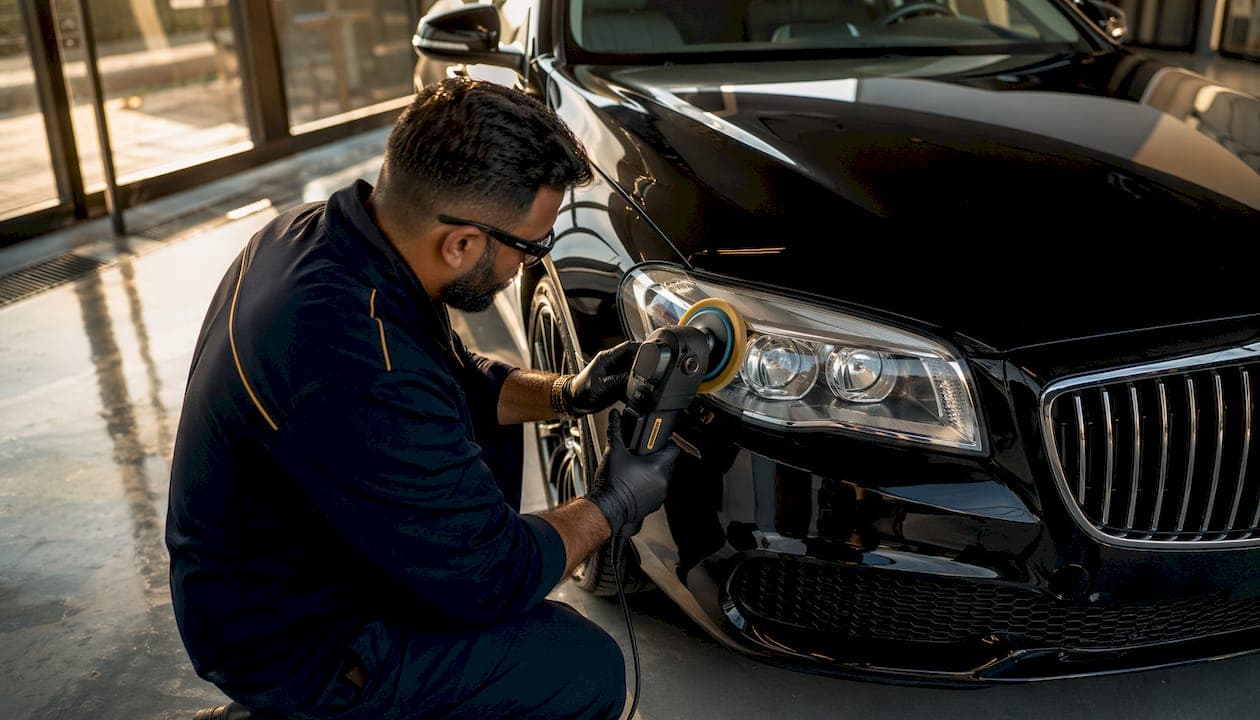
Mobile headlight restoration is the process of removing haze, yellowing, and oxidation from polycarbonate headlight lenses using professional-grade sanding, polishing, and UV-protective coatings applied directly at your location. Cloudy headlights are not just an eyesore. They block light transmission and reduce nighttime visibility, creating a real safety risk on Australian roads. Professional restoration can recover up to 80% of lost light output, and it costs a fraction of full headlight replacement. This guide covers the tools, the process, the common mistakes, and how to keep your headlights clear long after the job is done.
What does mobile headlight restoration actually involve?
Mobile headlight restoration is the industry term for on-site headlight renewal. A technician comes to your home or workplace and performs a full multi-stage process: wet sanding, machine polishing, and UV sealant application, all without you dropping your car at a shop. The standard process addresses the root cause of yellowing, which is the breakdown of the factory polycarbonate UV protective layer. Wiping the surface or using a store-bought cleaner does not fix that. Only sanding removes the degraded layer, and only a proper UV-blocking coating stops it from coming back fast.
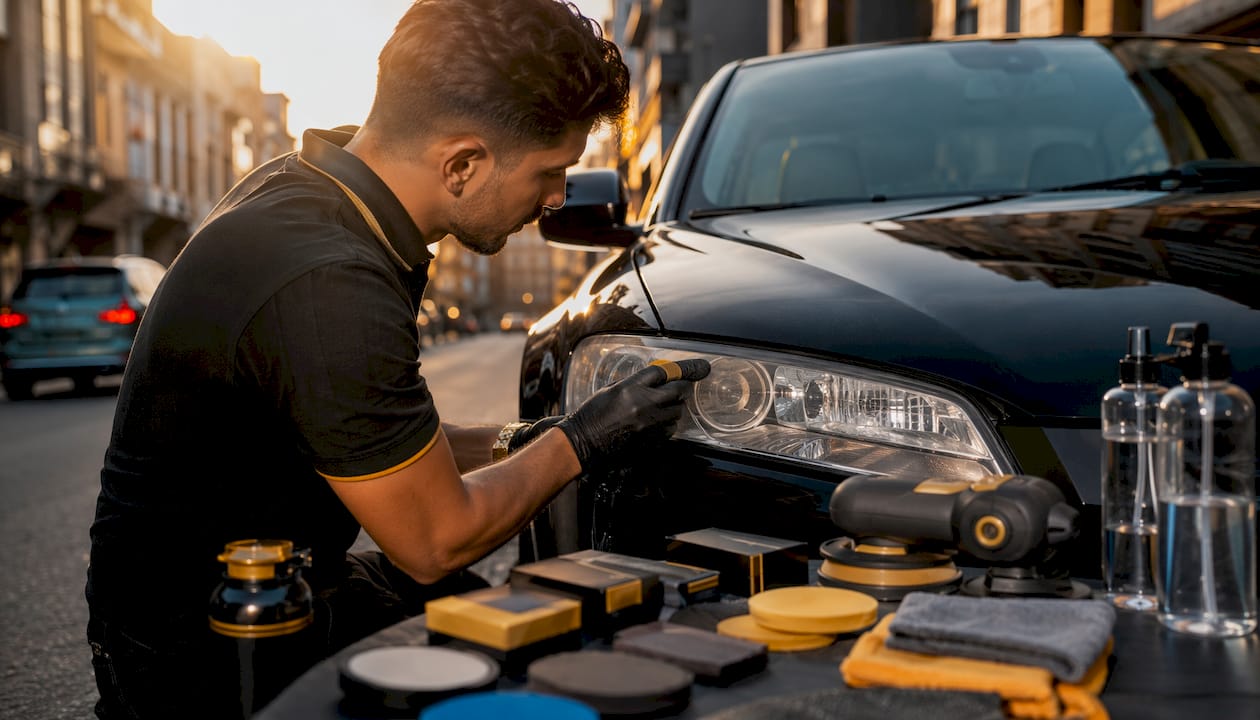
Professional mobile restoration takes 30 to 90 minutes on average, with most jobs completed in 45 to 60 minutes. That convenience is the core appeal for busy car owners who cannot afford half a day at a detailing shop.
What tools and materials do you need?
Effective car headlight restoration requires the right equipment at every stage. Skipping a tool or substituting a lower-grade product produces uneven results that fail quickly.
Core equipment list
- Wet/dry sandpaper: Multiple grit levels are required. Start with 400 or 600 grit to remove heavy oxidation, step up through 1000 and 1500, and finish with 2000 or 2500 grit for a smooth surface before polishing.
- Masking tape: Proper masking protects surrounding paint and trim from sanding damage. This step is non-negotiable.
- Polishing compound: A medium-cut compound removes sanding marks. A fine polish follows to restore optical clarity.
- Dual-action polisher or hand applicator: A machine polisher produces faster, more consistent results. Hand polishing works but takes longer and requires more effort.
- UV-resistant sealant or ceramic coating: This is the final and most critical step. Without it, oxidation returns within weeks.
| Tool | Purpose | Selection tip |
|---|---|---|
| Wet/dry sandpaper (400–2500 grit) | Remove oxidation layer by layer | Buy a full grit kit, not individual sheets |
| Masking tape (automotive grade) | Protect paint and trim during sanding | Use 2-inch width for better coverage |
| Polishing compound | Restore clarity after sanding | Choose medium-cut first, then fine |
| Dual-action polisher | Even, consistent polishing | 5-inch backing plate suits most headlights |
| UV sealant or ceramic coating | Seal and protect restored lens | Look for 12+ months UV protection rating |
Pro Tip: Buy a grit progression kit rather than individual sheets. Jumping from 600 grit straight to 2000 grit leaves deep scratches that polishing cannot fully remove.
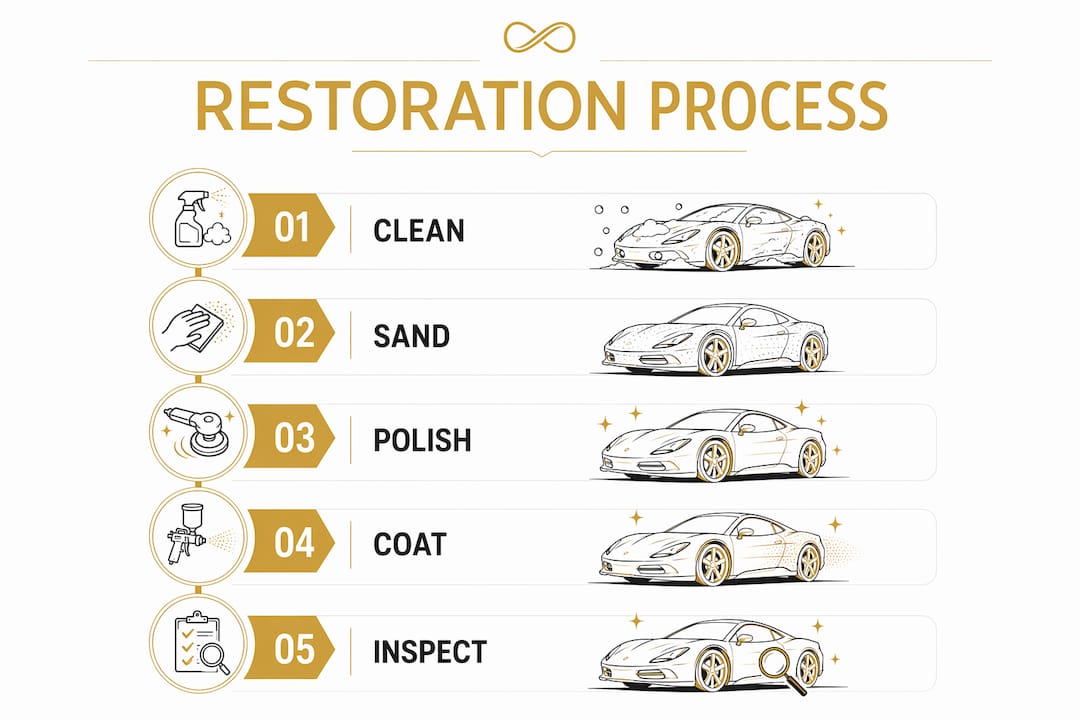
How does the step-by-step restoration process work?
The restoration workflow follows a fixed sequence. Skipping or rushing any stage produces a result that looks good for a few weeks, then fades fast. Headlight yellowing stems from UV damage to the external protective layer, so every step must address that root cause.
The full restoration sequence
-
Clean the lens (5 minutes). Wash the headlight with soap and water to remove dirt, bugs, and road grime. Dry completely before touching the surface.
-
Mask the surrounding area (5–10 minutes). Apply automotive masking tape around the entire headlight perimeter. Cover any adjacent paint, rubber trim, and chrome. Neglecting this step can cause costly paint damage that costs more to fix than the headlight itself.
-
Wet sand with coarse grit (10–15 minutes). Start with 400 or 600 grit sandpaper, kept wet throughout. Sand in straight horizontal strokes. The surface will look worse at this stage. That is correct. You are removing the dead UV layer.
-
Progress through finer grits (15–20 minutes). Move through 1000, 1500, and 2000 grit in sequence. Change direction with each grit to track your progress. The lens should look increasingly uniform and hazy white before polishing.
-
Machine polish (10–15 minutes). Apply a medium-cut polishing compound with a dual-action polisher. Work in overlapping passes. Follow with a fine polish to bring up optical clarity. The lens should look clear and glossy at this point.
-
Apply UV sealant or ceramic coating (5–10 minutes). This step determines how long the result lasts. UV-resistant sealants extend restored clarity from 12 to 36 months depending on climate and maintenance. Australia's high UV index makes this step especially critical.
-
Final inspection (5 minutes). Check for streaks, uneven polish, or missed spots. Test the headlight at night if possible to confirm brightness improvement.
Pro Tip: Keep a spray bottle of water nearby during sanding. Dry sanding clogs the paper fast and scratches deeper than necessary. Wet sanding produces a smoother, more consistent result.
Professional restoration vs. typical DIY kits
| Stage | Professional mobile service | Standard DIY kit |
|---|---|---|
| Sanding | Multi-grit wet sanding (400–2500) | Single-grit or no sanding included |
| Polishing | Machine polishing with compound | Hand buffing with included pad |
| UV protection | Professional-grade sealant or ceramic | Basic spray or wipe-on coating |
| Durability | 12–36 months | 3–6 months typical |
| Time required | 45–60 minutes | 30–45 minutes |
| Risk of paint damage | Low (proper masking) | Higher (masking often skipped) |
What are the most common mistakes in headlight restoration?
Most failed headlight restoration jobs come down to three errors: skipping masking, using temporary coatings, and missing internal damage before starting.
Mistakes that ruin results
- Skipping masking tape. Sanding without masking scratches paint and trim. Fixing that damage costs far more than the restoration itself.
- Using wipe-on or spray coatings without sanding. Temporary coatings only mask the problem. They degrade unevenly and fail within weeks, leaving the lens looking patchy and worse than before.
- Starting restoration on an irreparable lens. Not every headlight can be restored. Internal moisture, delamination, or cracked plastic requires full replacement, not polishing.
- Rushing the grit progression. Jumping from coarse to fine grit skips the leveling stages and leaves scratches that polishing cannot remove.
- Applying UV sealant on a wet or contaminated surface. The coating will not bond correctly and will peel or cloud within weeks.
Run your finger across the headlight lens before you start. If the surface feels rough and gritty, the oxidation is external and fully restorable by sanding. If the lens feels smooth but still looks foggy or milky from the inside, the damage is internal. No amount of sanding fixes sealed moisture or internal delamination. In that case, replacement is the only real answer.
Early restoration is critical. Severe oxidation and internal damage both reduce the chance of a successful outcome and increase the likelihood that replacement becomes necessary. Act when you first notice yellowing, not after the lens has turned opaque.
How do you maintain headlights after restoration?
Restored headlights need ongoing care to stay clear. The UV sealant applied during restoration is durable, but it is not permanent. Australia's intense sun accelerates UV degradation faster than in many other climates.
Maintenance habits that extend clarity
- Wash headlights with car shampoo, not household detergents. Dish soap strips wax and sealant coatings faster than automotive products.
- Apply a quality car wax over the headlight lens every 3 months. Wax adds a sacrificial UV barrier on top of the sealant.
- Park in a garage or under shade whenever possible. Direct sun exposure is the single biggest factor in oxidation speed.
- Inspect the lens surface every 6 months. Run your finger across it. If it starts to feel rough again, light sanding and resealing can restore clarity before full oxidation sets in.
- Reapply UV sealant every 12 to 36 months depending on your climate and how much sun exposure the vehicle gets. Cars parked outdoors in Queensland or Western Australia need resealing closer to the 12-month mark.
Pro Tip: After washing your car, dry the headlight lens with a clean microfiber cloth rather than letting it air dry. Water spots left on the lens can etch into fresh sealant coatings over time.
Professional-grade coatings outperform store-bought DIY kits on longevity. A properly applied ceramic or UV-resistant sealant from a mobile headlight repair service holds up far longer than the spray-on products sold in auto parts stores. Scheduling a maintenance appointment with a mobile service is also far more convenient than driving to a shop for a resealing job that takes under 30 minutes.
Key Takeaways
Mobile headlight restoration delivers lasting clarity only when it combines multi-stage wet sanding, machine polishing, and a professional UV-resistant sealant applied in the correct sequence.
| Point | Details |
|---|---|
| Restoration recovers most lost light | Professional restoration can recover up to 80% of lost light output, directly improving nighttime safety. |
| Sanding is non-negotiable | Wipe-on coatings without sanding fail within weeks; multi-grit wet sanding removes the degraded UV layer. |
| Masking protects your paint | Automotive masking tape around the headlight prevents sanding damage to surrounding paint and trim. |
| UV sealant determines longevity | A quality UV-resistant sealant extends restored clarity from 12 to 36 months depending on climate. |
| Act early for best results | Severe oxidation and internal damage reduce restoration success; address yellowing as soon as it appears. |
Why I think most car owners wait too long
Most car owners I talk to notice the yellowing months before they do anything about it. They assume it is cosmetic. It is not. Cloudy headlights cut light output dramatically, and on unlit country roads or in heavy rain, that difference is the gap between seeing a hazard in time and not seeing it at all.
The other misconception I see constantly is that a $15 kit from the auto parts store is "basically the same" as a professional job. It is not. The kit skips the multi-grit sanding sequence that actually removes the degraded UV layer. Without that, any coating you apply sits on top of dead plastic and peels off within a month or two. You have spent money and time and the problem is still there.
Mobile restoration solves both problems. A trained technician brings the right tools, follows the correct sequence, and applies a sealant that actually bonds to a properly prepared surface. The job is done at your home or office in under an hour. For most car owners, the cost sits well below what a single headlight assembly replacement would run, and the result lasts years with basic maintenance.
The one thing I would add: do not ignore the masking step if you ever attempt this yourself. I have seen paint damage from DIY sanding that cost three times the price of a professional restoration to fix. Tape everything around the lens before you touch sandpaper to plastic.
— Bilo
Refinitycoatings WipeClear: built for mobile restoration professionals
Car owners who want professional-quality results without a shop visit, and detailers who want a high-margin add-on service, both benefit from the right coating product.

Refinitycoatings WipeClear is an Australian-made, wipe-on UV coating designed specifically for headlight restoration in mobile settings. It requires no power tools or complex setup, and its self-leveling formula delivers crystal-clear results in minutes. WipeClear provides over 12 months of UV protection, making it a practical finish coat after a proper sanding and polishing sequence. For detailers running a mobile headlight repair service, it adds a high-profit service line with minimal equipment investment. Visit Refinitycoatings to learn more about WipeClear and how it fits into a professional restoration workflow.
FAQ
How much does mobile headlight restoration cost in Australia?
Professional mobile restoration typically costs between $70 and $200, compared to $500 to $1,500 per side for full headlight replacement. Pricing varies based on the condition of the lens and whether a warranty is included.
How long does a mobile headlight restoration take?
Most mobile restoration jobs take 30 to 90 minutes, with the average completed in 45 to 60 minutes. The job is done on-site at your home or workplace with no vehicle drop-off required.
How long do restored headlights stay clear?
UV-resistant sealants and ceramic coatings extend restored clarity from 12 to 36 months. Cars parked outdoors in high-UV climates like Queensland or Western Australia should plan for resealing closer to the 12-month mark.
Can all cloudy headlights be restored?
Not all headlights are restorable. If the lens feels rough to the touch, external oxidation is present and sanding will fix it. If the lens feels smooth but looks foggy from the inside, the damage is internal and replacement is required.
Is mobile headlight restoration worth it compared to DIY kits?
Professional mobile restoration uses multi-grit wet sanding and machine polishing that DIY kits cannot replicate. The result lasts significantly longer, and the risk of paint damage from improper sanding is far lower when a trained technician handles the job.