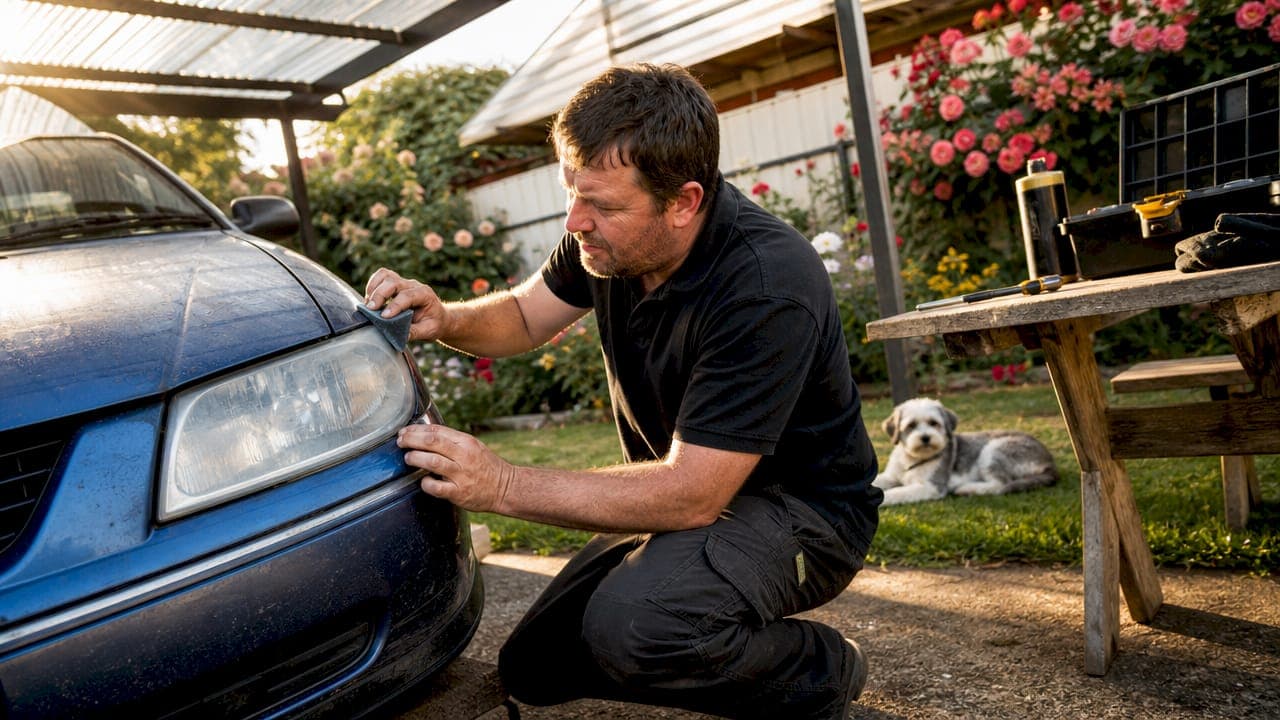
Sanding off the oxidized layer and sealing with a UV-resistant coating is the proven fix for cloudy headlights. Polishing alone won't cut it. The cloudiness you see is oxidized polycarbonate sitting beneath the surface after the factory UV coating breaks down from sun exposure, heat, and road grime. Wiping or buffing without sanding just removes the top layer of haze and leaves the oxidation underneath to resurface within weeks.
Here's what a proper fix looks like:
- Mask the surrounding paint with painter's tape to protect it from abrasion
- Wet sand progressively from 600 or 1000 grit up to 3000 grit
- Rinse and dry thoroughly between each grit change
- Apply a UV-resistant sealant as the final step to lock in clarity
Pro Tip: Skipping the UV sealant after sanding is the single most common mistake. Raw polycarbonate re-oxidizes faster than the original lens because the factory hardcoat is gone. Apply two light coats of wipe-on UV sealant and let each flash before adding the next.
If you notice fog on the inside of the lens rather than the outside, that's a different problem entirely. Interior moisture means a failed housing gasket or cracked seal, and no amount of surface sanding will fix it. You'll need to remove the housing and address the leak path first.
How to restore cloudy headlights yourself, step by step
A DIY restoration kit typically costs $10–$25 and contains everything you need. Budget about an hour to an hour and a half per car depending on the extent of lens oxidation.
What you'll need:
- Wet/dry sandpaper: 600, 1000, and 3000 grit (add 2000 for severely pitted lenses)
- Spray bottle with water and a drop of dish soap
- Painter's tape and microfiber cloths
- UV-resistant topcoat or wipe-on sealant
Steps:
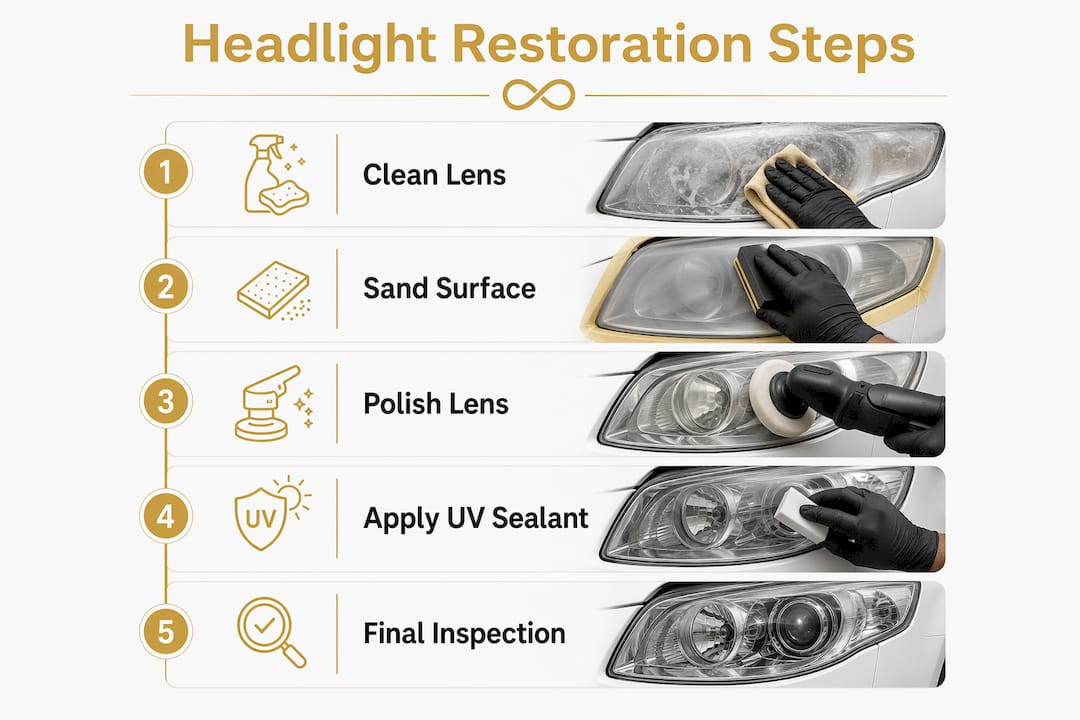
- Wash the headlights with soap and water, then dry completely.
- Mask the paint around each lens with at least two layers of painter's tape.
- Wet sand with 600 grit using light, straight strokes. Keep the surface wet the entire time. This grit removes the failed UV coat and oxidized plastic.
- Rinse, dry, and inspect. Move to 1000 grit only when the lens looks uniformly matte with no shiny patches remaining.
- Wet sand with 1000 grit to erase the 600-grit scratches. Alternate stroke direction to catch any lingering marks.
- Finish with 3000 grit wet sanding to refine the surface before sealing.
- Wipe the lens clean with isopropyl alcohol to remove all residue.
- Apply the UV sealant in overlapping strokes. Two light coats beat one heavy coat. Let the first coat flash before applying the second.
- Remove the tape carefully and allow the coating to cure per the product label before driving in rain.
A few things that will ruin the job: pressing too hard during sanding (heat warps polycarbonate), using acetone or bug spray (both dissolve the plastic), and skipping the UV coat because the lens already looks clear.
Pro Tip: Six to twelve months after restoration, a quick pass with 3000 grit and a fresh coat of UV sealant keeps the lenses clear without redoing the full sanding sequence. Catch it early and the job takes under 20 minutes.
Top professional headlight restoration services in Melbourne, Australia
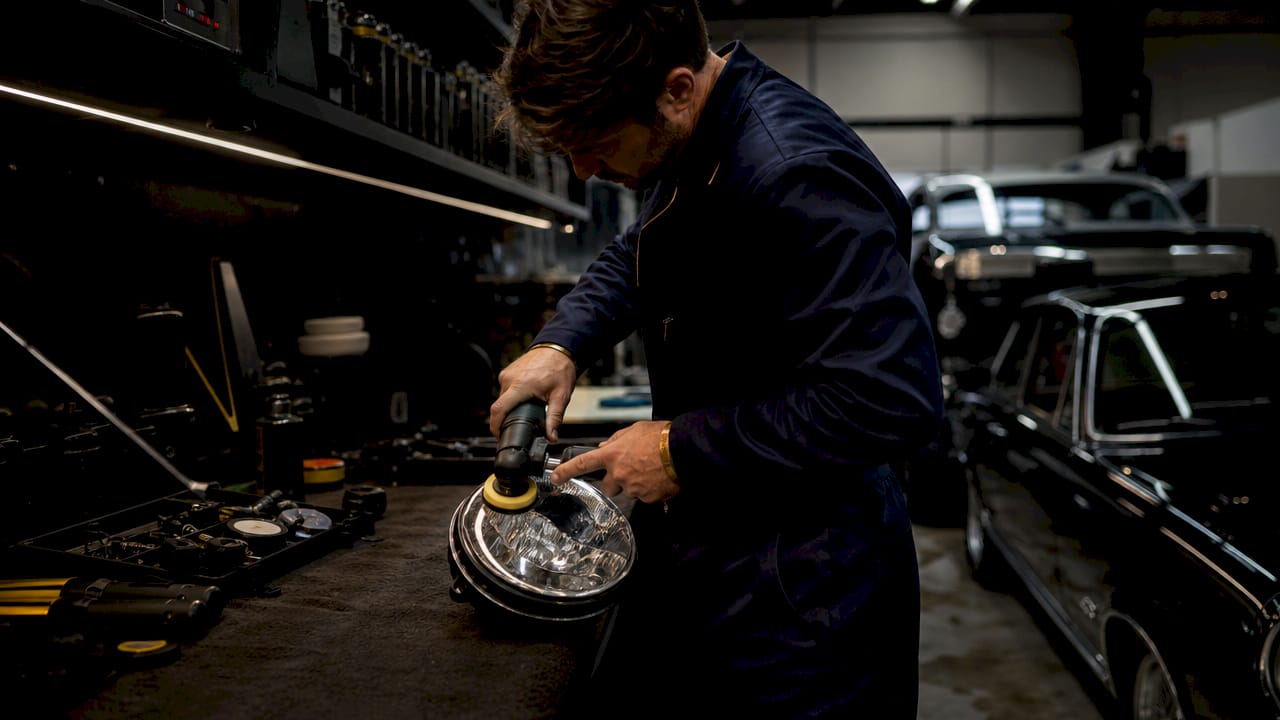
When the damage goes beyond surface oxidation, or you'd rather hand the job to someone else, Melbourne has several specialists worth knowing. Each takes a different approach.
| Provider | Services offered | Specializations | Mobile service | Warranty | Location | Rating |
|---|---|---|---|---|---|---|
| Right Way Headlights | Restoration, polishing, LED conversion, repairs | All makes and models, mobile Melbourne metro | Yes | 3-year warranty | Melbourne | 4.6★ (69 reviews) |
| Headlight Restoration Melbourne | Restoration, polishing, ceramic coating, installation | Yellowed/foggy/scratched lenses, ceramic coating | Yes, at home or work | Not publicly listed | Melbourne | 5★ (37 reviews) |
| Headlights Plus | Repairs, component re-manufacturing, stock sales | Plastic welding, bumper fabrication, ABS panel welding | Not listed | Not publicly listed | Melbourne | 5★ (15 reviews) |
| Headlight & Heater | New supply, rebuilding, plastic welding, recycling, pick-up/delivery | Genuine parts, advanced plastic welding, RACV/RACQ approved | Pick-up/delivery | Refund guarantee | Australia-wide | 4.3★ (11 reviews) |
Right Way Headlights is the strongest pick for most Melbourne car owners who want a straightforward restoration without the hassle of dropping the car off. The mobile service covers the Melbourne metro area, and the three-year warranty is the longest publicly listed guarantee among these providers. Pricing is described as affordable, though specific figures aren't published.
Headlight Restoration Melbourne adds ceramic coating to its mobile service, which gives the restored lens a harder, longer-lasting protective layer than a standard sealant. If you want the convenience of a technician coming to your home or workplace and you want the coating to last as long as possible, this is the right call.
Headlights Plus operates in a different category entirely. Surface oxidation is not their focus. They rebuild and re-manufacture headlight components, weld ABS panels, and fabricate bumper bar ends. If a lens is cracked, a mounting tab is broken, or a housing needs structural repair, Headlights Plus handles what a standard restoration service won't touch.
Headlight & Heater is Australia's most established genuine headlight supplier and repairer, serving RACV and RACQ. Their advanced plastic welding addresses severe weathering damage that goes well beyond what sanding can fix. The pick-up and delivery service makes them accessible even outside Melbourne, and the refund guarantee adds a layer of confidence for major repair work.
Professional restoration generally costs more than a $10–$25 DIY kit, but it includes labor, specialist equipment, and in some cases a warranty that a kit can't match.
Refinitycoatings WipeClear: a faster route to clear headlights
If the full sanding process feels like more than you want to take on, Refinitycoatings offers a different approach with WipeClear, an Australian-made wipe-on coating that restores headlight clarity in minutes without power tools or sanding equipment.

WipeClear's self-leveling formula fills and seals the oxidized surface in a single application using the included applicator pad. One bottle covers 100+ cars, which is why auto detailers and side hustlers use it as a high-margin service add-on. For a car owner who wants a fast, clean result without setting up a wet-sanding station in the driveway, it's a practical option. The coating provides over 12 months of UV protection, keeping lenses clear well past the point where a basic polish would have already failed.
It won't replace a full sanding restoration on severely pitted or cracked lenses, but for moderate oxidation or as a maintenance coat after a prior restoration, WipeClear delivers results that hold up.
Key Takeaways
Sanding through the oxidized layer and sealing with UV protection is the only fix for cloudy headlights that lasts more than a few weeks.
| Point | Details |
|---|---|
| Sanding is non-negotiable | Polishing without sanding leaves oxidation beneath the surface, and haze returns within weeks. |
| UV sealant completes the fix | Raw polycarbonate re-oxidizes faster than the original lens; two light coats of UV sealant lock in clarity. |
| DIY kits cost $10–$25 | Restoration kits cover the full sanding and sealing process and work well for moderate oxidation. |
| Melbourne pros handle deeper damage | Right Way Headlights offers a 3-year warranty; Headlight & Heater covers severe structural damage with plastic welding. |
| Refinitycoatings WipeClear skips the sanding | Australian-made wipe-on coating restores clarity in minutes with 12+ months of UV protection per application. |